
From a workable budget to the compelling story, incredible sets of actors, ideal location, you’ve set all that vital aspects to create your own movie. Yet, what’s holding you back from shooting is how to make your DIY film realistic, given that you don’t have the massive equipment big movie outfits use in their flicks.
Well, it’s understandable as making a movie has never been easier. You want to create one that will appear and feel as professional-level as possible to attain whatever purpose you want to achieve with your film. Something most people deem achievable by buying and using the latest, greatest tools.
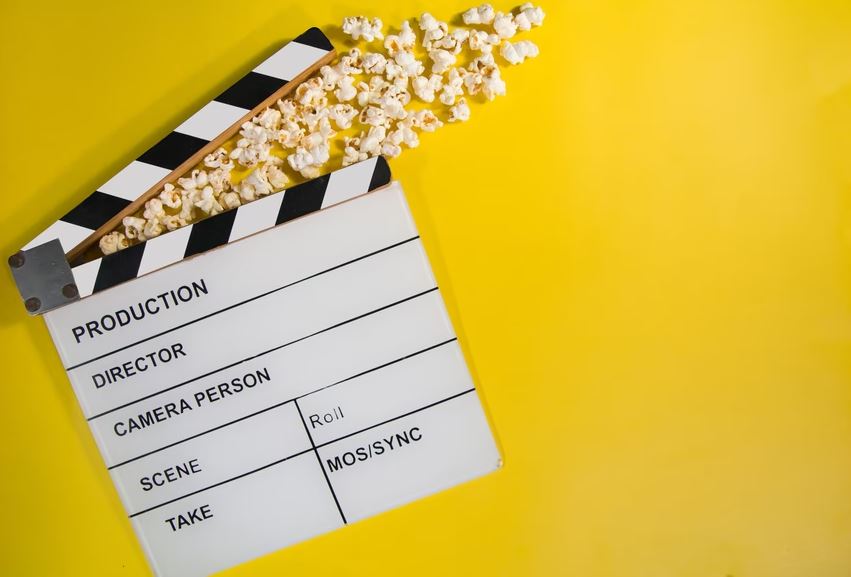
Luckily, that isn’t the case anymore. With the advancement of technology, your smartphone or digital camera is no longer for home videos alone. Here, we’ll discover some of the best tips and tricks to start turning them into a realistic, high-quality home movie for the world to see. (Who knows, you might be sending an entry to the Tribeca Film Festival, Sundance Film Festival, or Telluride Film Festival soon?)
1. Opt for a digital camera.
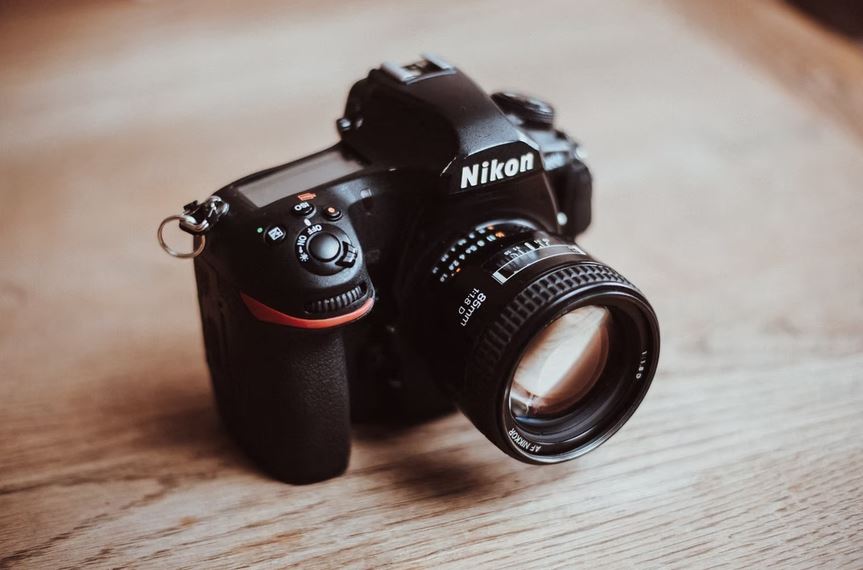
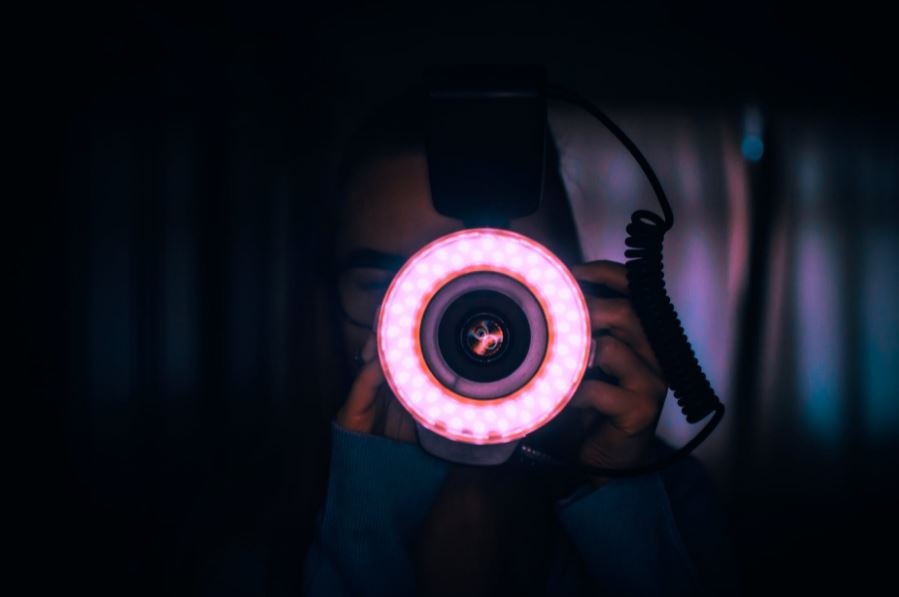
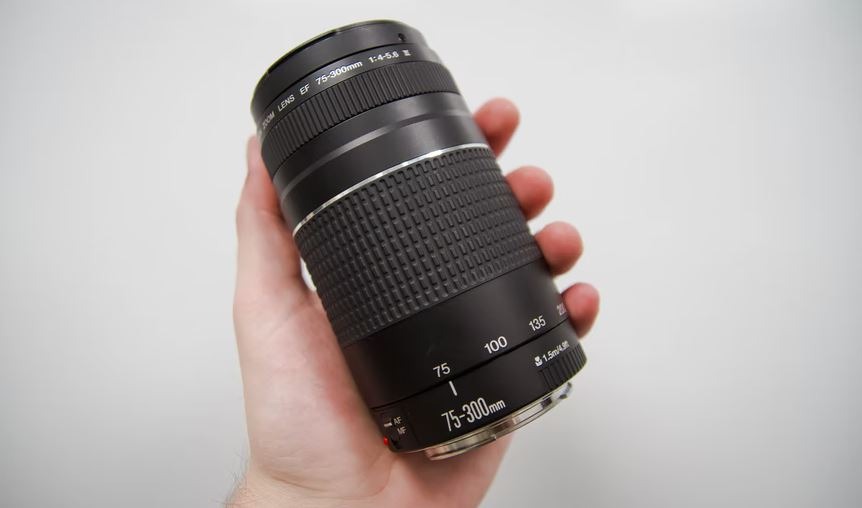
While phone cameras are becoming better and better, we aren’t at a stage yet where they can topple a camcorder or a digital camera. So, if you have one, prioritize using it as it will result in a better quality home movie. If your budget permits, investing in a camera can do you wonders. Just be sure to check out the features, such as the resolution, camera setting, and special effects. You can find ones costing less than $1,000 but can incredibly fulfill your home movie needs.
2. Always use the back camera if you’re using your smartphone.
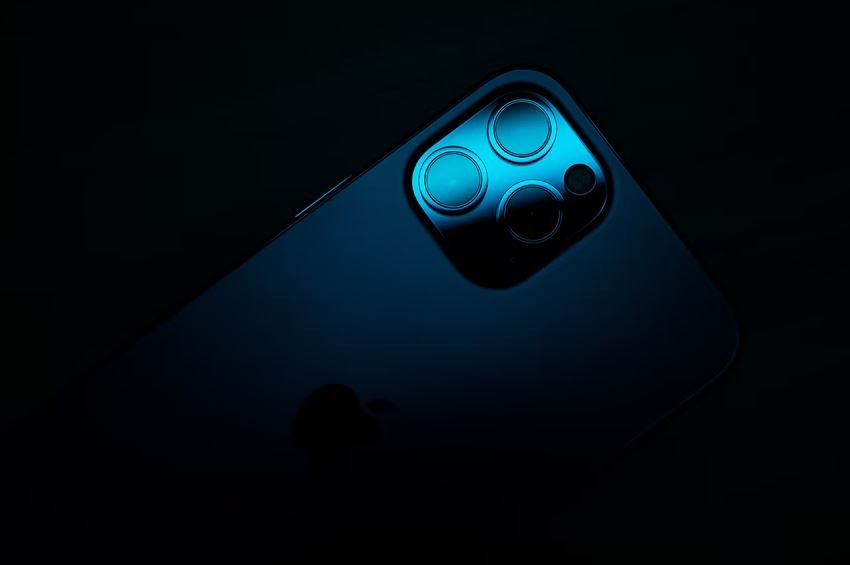
Smartphone camera technology has risen tremendously in recent years, and they’re now becoming quite impressive and powerful filmmaking tools. If you decide to use your smartphone, just be mindful that the front-facing camera is best for your selfies, not for shooting videos. So, always use the back camera for your home video. It records faster at a higher resolution, providing your home movie with a more slick look.
3. Shoot in landscape mode.
Shooting in landscape mode or the long way is a must, instead of recording in portrait mode or the tall way. The Landscape mode resembles the orientation and will fit the aspect ratio of your TV, the computer screen, or the big screen where your home movie will be viewed. Not only will you be aligning everything with the video standard, but you will also keep it congruent with the human sight. Filming in portrait mode will appear awkward and uninteresting in a movie as the subject lines drastically affect the overall view – better to just save your portrait videos for Instagram and Tiktok.
4. Let there be light.
Having the right lighting is a crucial aspect of any movie, as it can quickly dictate the atmosphere, visual mood, and overall sense you want to convey to your audience. It’s best to use natural lighting but you can always improvise if needed, especially when shooting indoors. Make sure to give your subject lighting at least from two directions. You can play with light sources, place them in different angles to achieve your desired results.
5. Use the grid when filming.
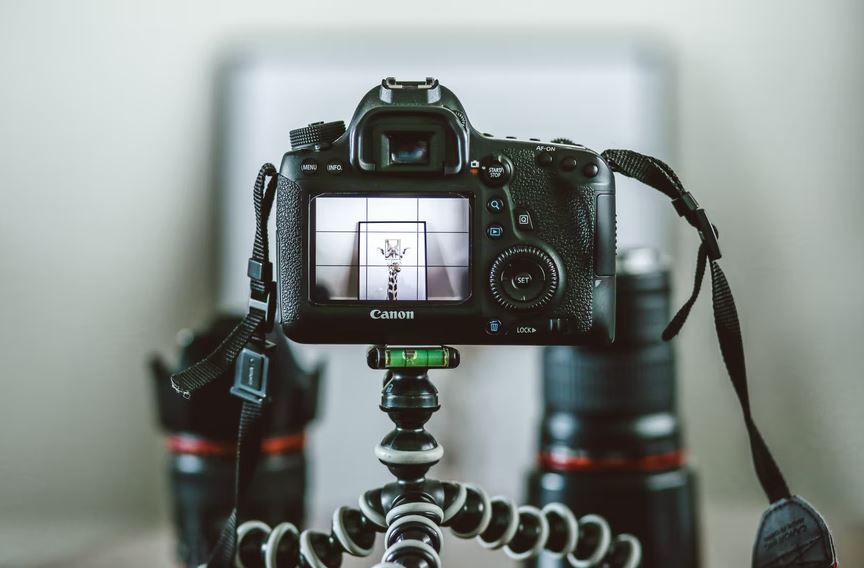
One of the secrets behind TV shows and movies looking far better than videos taken at home is that professional filmmakers know the rules of thirds. It’s basically a composition guideline in which you should put the subject in the left or right third of the video while keeping the remaining two-thirds blank or open. This rule is quickly achievable by using a grid when shooting. Most phone cameras nowadays have this feature, which you simply need to turn on. Meanwhile, all digital cameras have this setting so you don’t have to worry much about getting better cinematography for your home movie.
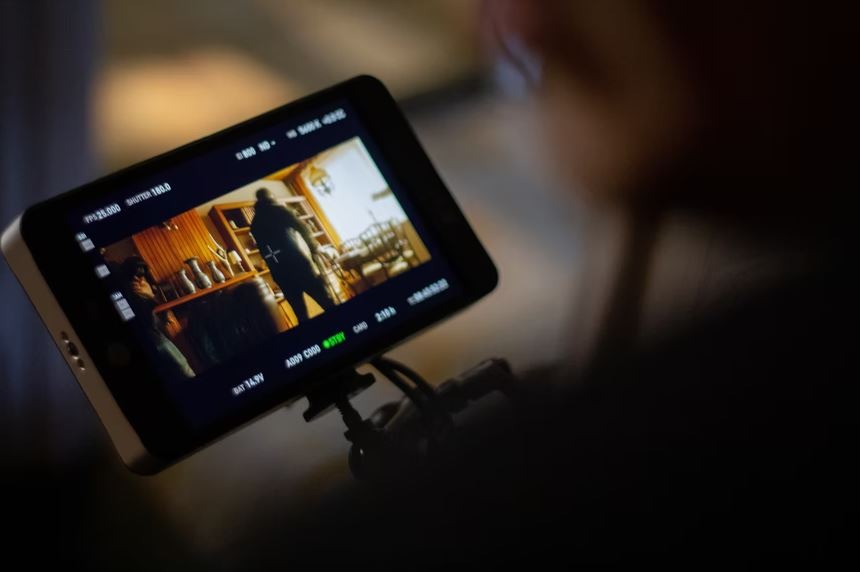
6. Diversify the angles.
Again, if you scrutinize TV shows and movies, you’ll quickly notice that they don’t stay at a specific angle for more than 5 to 10 seconds. Doing so keeps the movie in action and prevents it from being tedious. So, create interesting shows for your home movie by diversifying the angles. From close-ups, worm’s eye views, wide angles, to bird’s eye view, you can do a lot and even think of other unique angles to make the video more visually exciting.
7. Keep the stability and focus.
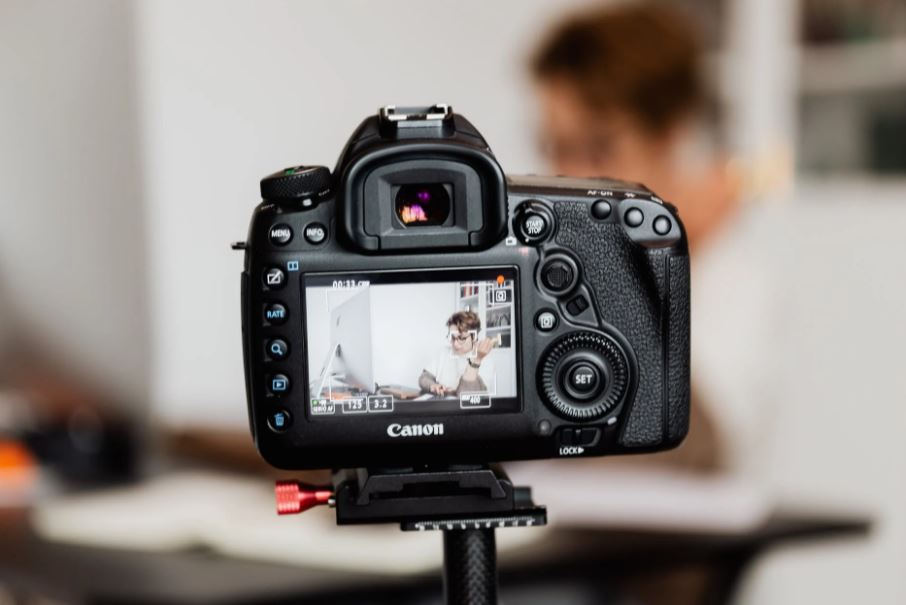
Though shaky cam works for some movies, it only does so in certain cases or scenes, such as when you need to add tension or make the viewers uncomfortable. Other than that all shots should be stabilized, framed well, smooth, and in focus. If your hands are shaky, getting a good tripod to hold your digital camera or rig for your smartphone can help you get steady shots. If there’s movement needed, don’t fret as most editing software have video stabilization and autofocus options but you should never depend on them and instead do your best in getting smooth, focused shots.
8. Place the same value on sound.
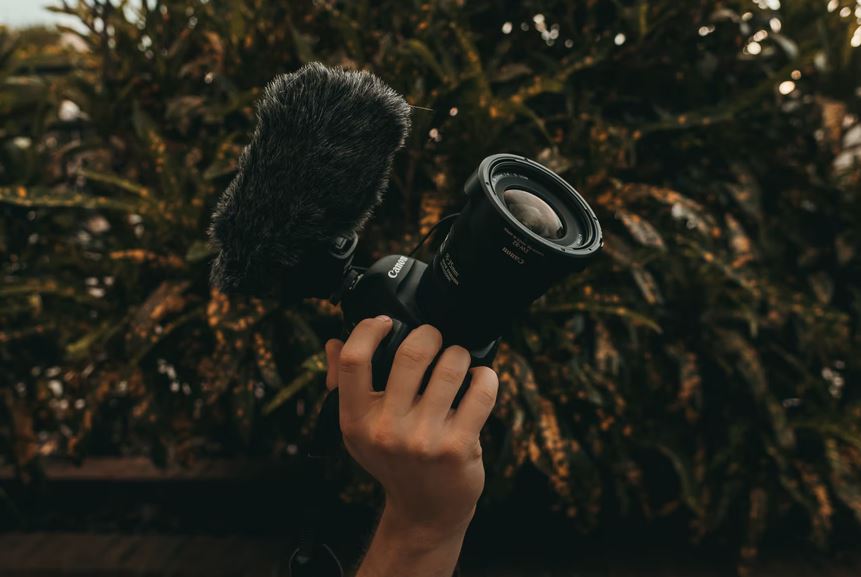
Sound is often overlooked by many home filmmakers, not knowing that it gives the same value to a film. Chances are the audience will bear watching a movie with less outstanding video quality, but will certainly walk away with a movie with sound that’s awfully bad. Control background noises the best way you can, use microphones if necessary, and stay close to your subject as much as possible for better sound recording.
9. Forget the digital zoom.
Having an incredible digital zoom feature is often one of the highlights manufacturers usually try to sell to users. Truth to be told, you won’t end up using it, despite how powerful it is. Utilizing the digital zoom only messes with the resolution of the video you’re shooting. If you need to zoom, try walking nearer to the subject, using a DIY camera dolly, or utilizing optical zoom instead. That way, you can keep your home movie’s quality at its finest, as well as in minimizing the shakiness and jostling when using the zoom feature.
10. Leave the special effects.
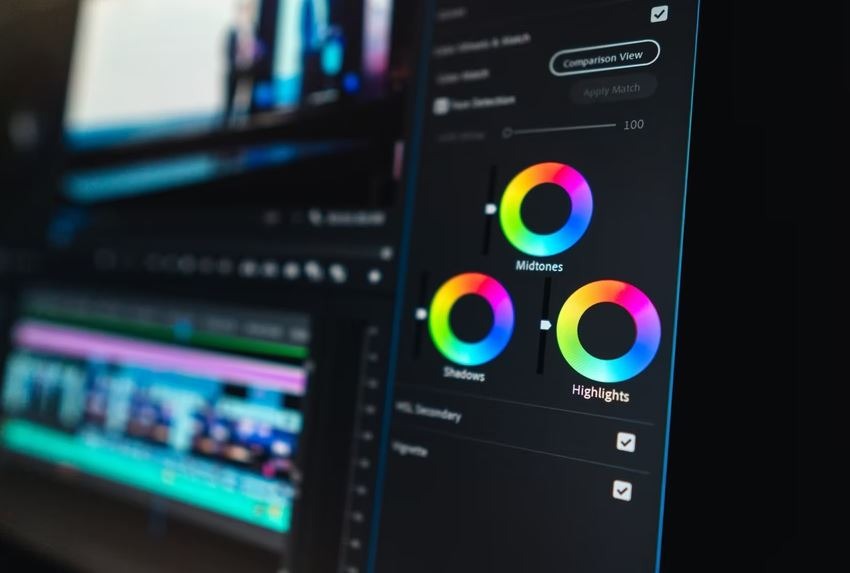
Aside from the advanced digital zoom feature, cameras also have different onboard effects for filmmaking and street photography. Though you can quickly toggle a specific effect before rolling the camera, it’s better to add any special effects during the editing process. It’s easy to add a sepia tone or grayscale tone with video editing software but impossible to revert it to full color without seeking professional help and spending huge sums of money. Keep your video as raw as possible. You can always play with special effects later.
Final Words
That’s the rundown of the best tips on how to give your home movie a realistic, pro-level look. Have fun, be patient, and keep the hard work – soon, you’ll be able to watch the rewarding fruit of all your efforts and share it with the whole world.